.jpg)
Getting Started with Trezor.io/start
Welcome to the Trezor.io/start setup guide. In this article, we'll walk you through the steps to get your Trezor hardware wallet up and running. Whether you're a beginner or an experienced user, this guide will help you ensure your device is secure and ready to use. For detailed documentation, visit Trezor Docs.
Step 1: Unboxing Your Trezor Device
When you receive your Trezor device, ensure that the packaging is intact. Inside, you'll find the Trezor hardware wallet, a USB cable, and a recovery seed card. Visit trezor.io/start to begin the setup process.
Step 2: Connecting Your Trezor to Your Computer
Using the USB cable provided, connect your Trezor to your computer. Open the Trezor.io/start website in your browser. The website will guide you through downloading and installing the Trezor Bridge software.
Step 3: Setting Up Your Trezor Wallet
Once the Trezor Bridge is installed, follow the on-screen instructions to create a new wallet or restore an existing one using your recovery seed. This is a crucial step in ensuring your digital assets are secure.
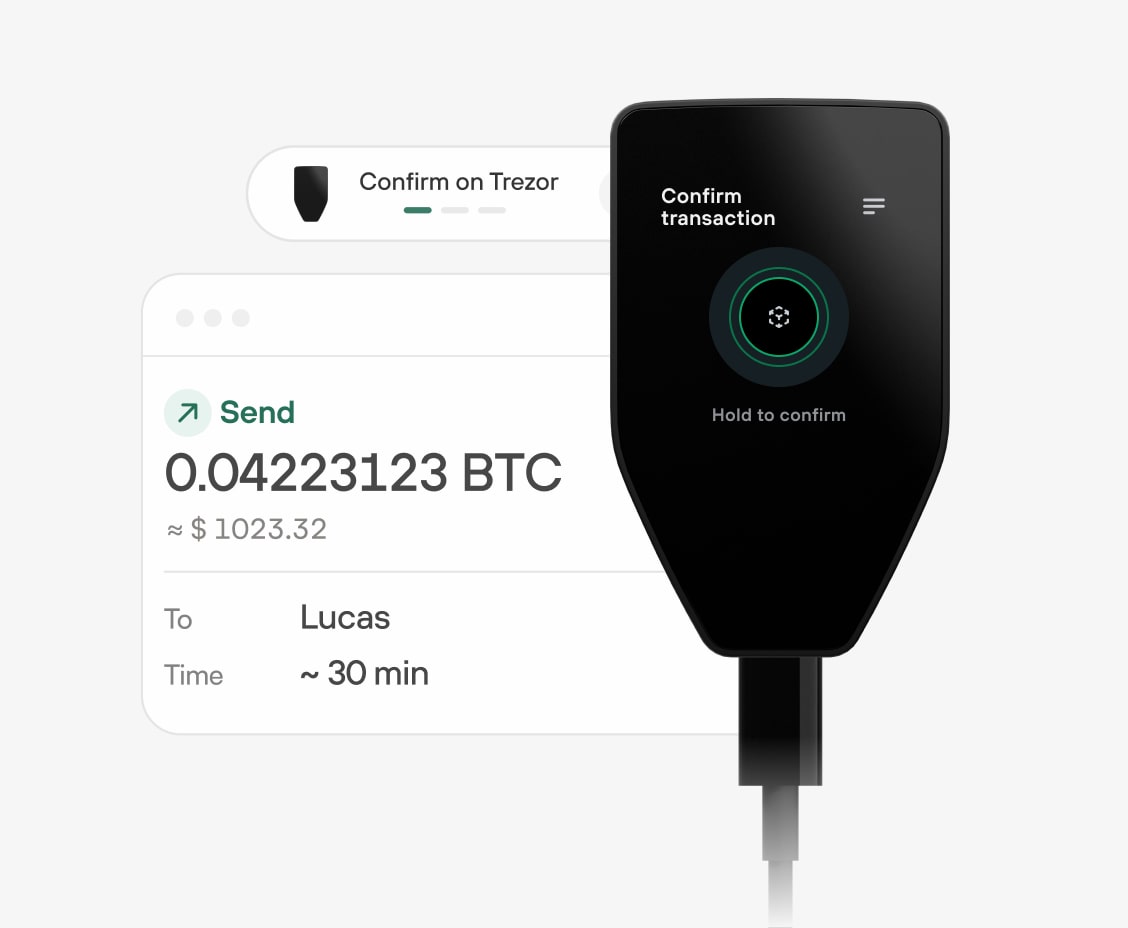
Step 4: Securing Your Trezor Device
After setting up your wallet, it's essential to secure your device with a PIN and passphrase. This extra layer of security helps protect your assets from unauthorized access. For more security tips, check out the Trezor documentation.
Remember to bookmark trezor.io/start and keep your recovery seed in a safe place. Regularly update your Trezor firmware to ensure you have the latest security features.